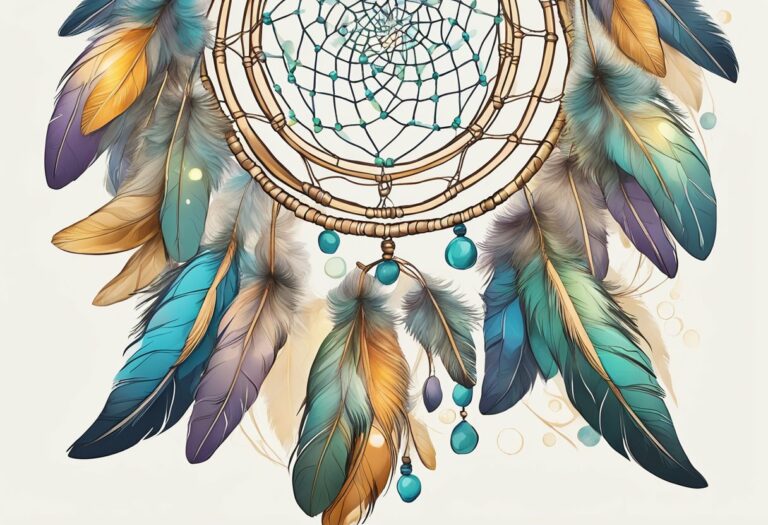

How to Make a Dreamcatcher with Beads: A Step-by-Step Guide
Dreamcatchers are a beautiful and meaningful decoration that can add a touch of bohemian charm to any room. Making a dreamcatcher with beads is a popular variation of this traditional craft. With a few simple steps and some basic materials, you can create a stunning dreamcatcher that is unique to you.

The purpose of a dreamcatcher is to filter out bad dreams and negative energy and allow good dreams to pass through. Dreamcatchers are believed to have originated with the Ojibwe people, but they have since become a popular decoration around the world. Making a dreamcatcher with beads is a fun and creative way to add your own personal touch to this traditional craft.
Key Takeaways
- Dreamcatchers are a traditional decoration that can add bohemian charm to any room.
- Making a dreamcatcher with beads is a popular variation of this traditional craft.
- Dreamcatchers are believed to filter out bad dreams and negative energy and allow good dreams to pass through.
Understanding the Purpose of a Dreamcatcher

Dreamcatchers are fascinating objects that have been used for centuries in Native American cultures. They are believed to filter out bad dreams and negative energy, allowing only positive dreams and energy to pass through. Dreamcatchers are made of a hoop, usually made of wood, wrapped in leather or string, with a woven web in the center and feathers and beads hanging from the bottom.
The web in the center of the dreamcatcher is meant to capture bad dreams and negative energy, while the feathers and beads hanging from the bottom are believed to attract positive energy and good dreams. The bad dreams and negative energy are then trapped in the web until they evaporate with the morning sun.
Dreamcatchers were traditionally made by the Ojibwe people, but they have since become popular in many other Native American cultures and beyond. They are a beautiful and meaningful addition to any home, and can also make a wonderful gift for a loved one.
If you’re interested in making your own dreamcatcher, it’s important to understand its purpose and the significance of its various components. By doing so, you can create a dreamcatcher that is not only beautiful, but also meaningful and spiritually significant.
Gathering Your Materials
https://www.youtube.com/watch?v=mwdQEEmQdls&embed=true
To make a dreamcatcher with beads, you will need a few basic materials. Here is a list of the most important ones:
Hoop
The hoop is the base of your dreamcatcher. You can use a metal hoop or a wooden hoop. The size of the hoop will determine the size of your dreamcatcher. A smaller hoop will result in a smaller dreamcatcher, while a larger hoop will result in a larger dreamcatcher.
Thread or Yarn
You will need thread or yarn to weave the web of your dreamcatcher. You can use any color you like, but white or natural colors are the most common. Choose a thread or yarn that is thin and strong.
Beads
Beads are optional, but they can add a nice touch to your dreamcatcher. You can use any type of bead you like, but small beads work best. You can also use different colors and shapes to create a unique design.
Feathers
Feathers are another optional element that can add a natural touch to your dreamcatcher. You can use any type of feather you like, but make sure they are clean and dry.
Hemp or Cord
You will need hemp or cord to wrap around the hoop and to attach the feathers and beads. Choose a hemp or cord that is strong and durable.
Scissors
You will need scissors to cut the thread, hemp, and feathers. Make sure your scissors are sharp and clean.
Now that you know what materials you need, it’s time to gather them all together and get started on your dreamcatcher!
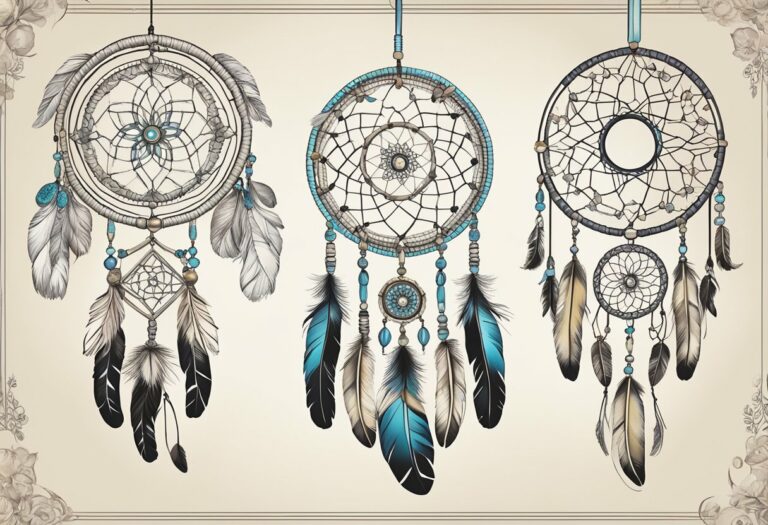
Choosing Your Design

When it comes to making a dreamcatcher with beads, there are a lot of design options to choose from. You can opt for a simple and minimalist design or go for something more intricate and detailed. Here are some factors to consider when choosing your dreamcatcher design:
1. Size and Shape
Dreamcatchers come in different sizes and shapes. You can choose a small one to hang on your car’s rearview mirror or a large one to hang above your bed. The shape of your dreamcatcher can also vary from circular to heart-shaped, or even animal-shaped. Consider the space where you plan to hang your dreamcatcher and choose a size and shape that will fit perfectly.
2. Color Scheme
The color scheme of your dreamcatcher is another important factor to consider. You can choose a monochromatic color scheme or opt for a combination of colors that complement each other. You can also choose beads of different shapes and sizes to add texture and depth to your dreamcatcher.
3. Pattern and Style
The pattern and style of your dreamcatcher are what will make it unique and personalized. You can choose a traditional pattern or create your own design. You can also add feathers, ribbons, or other embellishments to make your dreamcatcher stand out.
4. DIY Dreamcatcher Kits
If you’re new to making dreamcatchers, you might want to consider using a DIY dreamcatcher kit. These kits come with all the materials you need to make your dreamcatcher, including beads, feathers, and string. They also come with instructions that are easy to follow, making it a great option for beginners.
Overall, choosing your dreamcatcher design is a fun and creative process. Consider your personal style and preferences, as well as the space where you plan to hang your dreamcatcher, to create a design that is both beautiful and functional.
Preparing the Hoop

Before starting to make your dreamcatcher, you will need to prepare the hoop. The hoop is the circular frame that will serve as the base for your dreamcatcher. You can use a variety of materials to make your hoop, including metal, wood, or plastic. Choose a material that suits your taste and budget.
To prepare the hoop, you will need to wrap it with string or ribbon. This will provide a surface for you to attach the webbing and decorations. Start by tying one end of the string to the hoop. Then, wrap the string around the hoop, making sure to cover the entire circle. You can wrap the string tightly or loosely, depending on the look you want to achieve.
The length of string you need will depend on the size of your hoop. A larger hoop will require more string than a smaller one. As a general rule of thumb, you will need at least twice the length of the hoop to wrap it completely. For example, if your hoop is 6 inches in diameter, you will need at least 12 inches of string to wrap it.
Wrapping the hoop can be a time-consuming process, but it is an important step in making a dreamcatcher. Take your time and make sure the string is wrapped evenly around the hoop. Once you have finished wrapping the hoop, you are ready to move on to the next step.
Weaving the Dreamcatcher Web
Now that you have the hoop and the string ready, it’s time to start weaving the dreamcatcher web. Follow these steps to create the center web:
- Tie a knot on the hoop using the string. Leave a tail of about 4 inches.
- Make a loop with the string and pass it through the hoop. Pull it tight to create a second knot.
- Repeat step 2, but this time pass the string through the loop you created in step 2. Pull it tight to create a third knot.
- Continue this process, creating loops and passing the string through them, until you reach the center of the hoop. This will create a spiral pattern.
- Once you reach the center, tie a double knot to secure the string in place.
Now that you have created the center web, it’s time to weave the outer web. Follow these steps:
- Tie a knot on the hoop using the string. Leave a tail of about 4 inches.
- Make a loop with the string and pass it through the center of the web. Pull it tight to create a second knot.
- Repeat step 2, but this time pass the string through the loop you created in step 2. Pull it tight to create a third knot.
- Continue this process, creating loops and passing the string through them, until you reach the outer edge of the hoop.
- Once you reach the outer edge, tie a double knot to secure the string in place.
Repeat this process until you have created the desired number of outer webs. You can add beads to the string as you weave to create a decorative effect. Use a needle to help you thread the beads onto the string.
Remember to keep the tension of the string consistent as you weave. This will ensure that the web is tight and secure. With a little practice, you’ll be able to weave a beautiful dreamcatcher web in no time!
Adding Decorative Elements
Once you have completed the webbing of your dreamcatcher, it’s time to add some decorative elements to give it a unique and personalized touch. Here are some ideas for adding decorative elements to your dreamcatcher:
Beads
Beads are a popular choice for adding decoration to dreamcatchers. You can use any type of bead you like, but it’s best to choose beads that complement the colors of your dreamcatcher. You can thread the beads onto the strings that hang from the bottom of the dreamcatcher or incorporate them into the webbing itself.
Feathers
Feathers are another popular choice for dreamcatcher decoration. You can use any type of feather you like, but it’s best to choose feathers that are lightweight and won’t weigh down the dreamcatcher. You can attach the feathers to the strings that hang from the bottom of the dreamcatcher or incorporate them into the webbing itself.
Gemstones
Gemstones can add a touch of elegance to your dreamcatcher. You can use any type of gemstone you like, but it’s best to choose gemstones that complement the colors of your dreamcatcher. You can attach the gemstones to the strings that hang from the bottom of the dreamcatcher or incorporate them into the webbing itself.
Decoration
You can add any type of decoration you like to your dreamcatcher, from ribbons to shells to small trinkets. Just make sure that the decoration you choose is lightweight and won’t weigh down the dreamcatcher.
Decorating
When adding decorative elements to your dreamcatcher, it’s important to keep the overall design in mind. You don’t want to add too many elements that will overwhelm the dreamcatcher or make it too heavy. You also want to make sure that the decorative elements you choose complement the colors and style of the dreamcatcher.
Finishing and Hanging Your Dreamcatcher
Once you have completed weaving your dreamcatcher and added the beads, it’s time to finish it off and hang it up. Here are the steps to follow:
Tie off the Thread
First, you need to tie off the thread. Cut the thread, leaving a tail of about 6 inches. Thread the tail through the loop of the last stitch and pull it tight. Tie a knot close to the loop to secure it in place. Trim the excess thread with scissors.
Create a Hanging Loop
Next, you need to create a hanging loop. Cut a piece of string or ribbon to the desired length of your hanging loop. Fold it in half and tie a knot at the end. Thread the loop through the top of your dreamcatcher and tie another knot to secure it in place. You can adjust the length of the loop to your liking.
Add Additional Loops
If you want to add additional loops to your dreamcatcher, simply cut a piece of string or ribbon to the desired length and tie a knot at the end. Thread the loop through the bottom of your dreamcatcher and tie another knot to secure it in place. You can add as many loops as you like.
Display Your Dreamcatcher
Now that your dreamcatcher is complete, it’s time to display it. Hang it up in a place where it can catch the light and the breeze. You can hang it on a wall, a window, or above your bed. You can also add additional decorations such as feathers, beads, or ribbons to make it even more beautiful.
By following these simple steps, you can create a beautiful dreamcatcher with beads that will bring you peaceful dreams and beautiful thoughts.
Step-By-Step Dreamcatcher Tutorial
Making a dreamcatcher with beads is a fun and creative DIY project that you can do at home. With just a few materials and some basic skills, you can create a beautiful and unique piece of decor that will add charm to any room. Here is a step-by-step tutorial to guide you through the process:
Step 1: Gather Your Materials
To make a dreamcatcher with beads, you will need the following materials:
- A metal or wooden hoop
- Suede cord or string
- Beads of various sizes and colors
- Feathers
- Scissors
Step 2: Wrap the Hoop
Start by wrapping the hoop with suede cord or string. This will create a base for your dreamcatcher. You can wrap the hoop as many times as you like, depending on how thick you want your dreamcatcher to be. Be sure to tie off the cord securely when you are finished.
Step 3: Create the Web
Next, you will create the web of your dreamcatcher. Take a long piece of suede cord or string and tie it to the top of the hoop. Then, wrap the cord around the hoop, making sure to keep it tight. Continue wrapping the cord around the hoop until you reach the starting point.
Now, you will begin creating the web by weaving the cord in and out of the wrapped hoop. Start by tying a knot around the hoop, then weave the cord over and under the wrapped hoop, creating a loop each time. Continue weaving the cord in this manner until you reach the center of the hoop.
Step 4: Add the Beads
Once you have reached the center of the hoop, it’s time to add the beads. Take a bead and thread it onto the cord, then tie a knot to secure it in place. Continue adding beads in this manner until you have reached the desired length. You can use beads of various sizes and colors to create a unique and personalized dreamcatcher.
Step 5: Add the Feathers
Finally, it’s time to add the feathers to your dreamcatcher. Take a feather and tie it to the bottom of the hoop using a piece of suede cord or string. Repeat this process with as many feathers as you like, spacing them out evenly around the bottom of the hoop.
And that’s it! You have now created your very own dreamcatcher with beads. Hang it up in your room and enjoy the peaceful and calming vibes it brings. If you need further guidance, you can also check out this wikiHow tutorial on how to make a dreamcatcher.
Caring for Your Dreamcatcher
Congratulations on making your beautiful dreamcatcher with beads! Now, you need to take care of it to ensure it lasts for a long time. Dreamcatchers are believed to have spiritual and energy properties, so it is important to treat them with respect.
Here are a few tips on how to care for your dreamcatcher:
1. Handle with Care
Handle your dreamcatcher gently and avoid touching the web or feathers too much. The web is delicate, and the feathers can easily come off if you handle them roughly.
2. Clean Your Dreamcatcher
Over time, your dreamcatcher may collect dust and dirt. To clean it, use a soft-bristled brush or a hairdryer on the cool setting. Hold the dreamcatcher gently and brush or blow away the dust.
3. Store Your Dreamcatcher Properly
When not in use, store your dreamcatcher in a cool, dry place. Avoid exposing it to direct sunlight or moisture. You can also wrap it in a soft cloth to protect it from dust and damage.
4. Respect the Energy of Your Dreamcatcher
Dreamcatchers are believed to have spiritual and energy properties. It is important to treat them with respect and honor their purpose. Avoid touching them with negative energy or thoughts.
By following these simple tips, you can keep your dreamcatcher with beads in good condition and enjoy its beauty and spiritual properties for years to come.
Related:
How to Make a Moon Dreamcatcher: Simple Steps for a Mystical Decor Piece
How to Make a Dreamcatcher with Crystals: A Step-by-Step Guide