Unleash Your Creativity: Craft a Stunning Dream Catcher
Dream catchers, with their intricate webs and feathered strands, are steeped in cultural history and revered for their beauty and symbolic meaning.
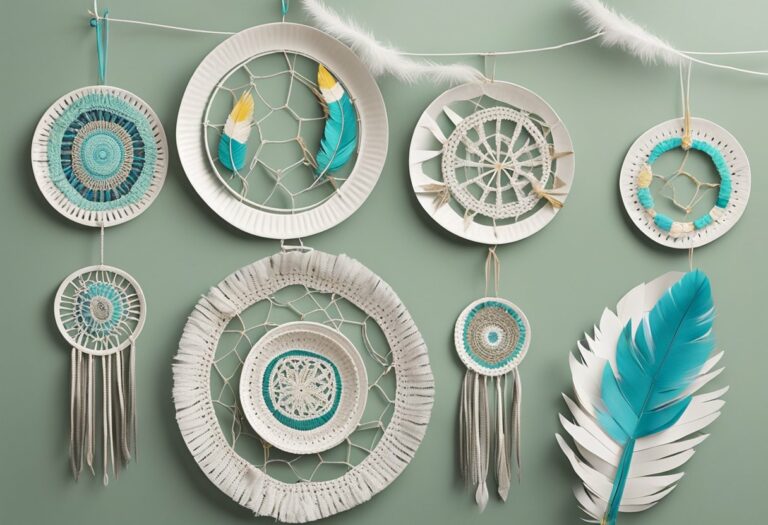
'Unleash Your Creativity: Craft a Stunning Dream Catcher' is a detailed guide designed to equip both novices and experienced crafters with the knowledge to create their own mesmerizing dream catchers.
This guide meticulously walks through the selection of high-quality materials, the delicate process of weaving, and the artful addition of colorful embellishments.
Readers will learn the significance behind each element of the dream catcher as they are encouraged to infuse their personal style into their creations.
By following the step-by-step instructions and leveraging the expert tips provided, anyone can produce a dream catcher that is not only visually striking but also reflective of their individual creativity and vision.
Gathering Your Materials
Before embarking on the creation of your dream catcher, ensure you have all necessary materials at hand. This includes acrylic yarn, liquid watercolor, metal craft rings, wood beads, and cording.
Selecting high-quality acrylic yarn will ensure durability and a vibrant display once dyed with liquid watercolor. Metal craft rings provide a sturdy base for your design, while wood beads add a natural, aesthetic touch. Cording is essential for the structure and hanging of the dream catcher.
Precise measurements and cuts of yarn are crucial for a symmetrical appearance. The liquid watercolor, available in various hues, allows for customization of the yarn to your desired shade.
Gathering these materials is the first step towards crafting a personalized and enchanting dream catcher.
Preparing the Yarn
Acrylic yarn serves as the foundation for the dream catcher's intricate webbing and must be cut into uniform lengths to ensure consistency in the final design. Precise measurement is crucial to maintain the symmetry and balance of the webbing pattern, which is essential for the dream catcher's aesthetic and functional integrity. Below is a table outlining the necessary lengths and quantities for a standard-sized dream catcher:
| Quantity | Length (inches) | Color |
|---|---|---|
| 20 | 24 | White |
| 15 | 24 | Blue |
| 10 | 24 | Pink |
| 5 | 24 | Purple |
| 5 | 24 | Turquoise |
These measurements are the starting point for the webbing process. Ensure all yarn strands are smooth and untangled before beginning to tie them to the frame.
Attaching Yarn to Ring
Upon preparation of the required lengths of yarn, the next step involves securely fastening each strand to the metal craft ring by executing a larks head knot.
Begin by folding a piece of yarn in half to form a loop. Place the loop beneath the ring, ensuring that the fold protrudes over the top edge. Grasp the two loose ends of yarn and thread them through the loop, pulling firmly to tighten the knot against the ring's surface.
This process, repeated with each yarn segment, ensures a uniform and secure attachment around the perimeter of the ring. The symmetrical arrangement of knots contributes to the aesthetic consistency of the dream catcher and provides a stable foundation for subsequent decorative elements.
Shaping the Fringe
Having secured the yarn to the craft ring, the next step is to cut the strands into a V-shaped fringe, ensuring the middle is longer and the sides gradually shorter for a symmetrical and visually appealing effect.
This technique creates a dynamic and elegant tapering that enhances the overall aesthetic of the dream catcher. Carefully measure and snip each strand, keeping in mind the desired length of the central point and the incremental shortening towards the edges.
The precision in cutting ensures a clean, deliberate look, rather than an unintended, haphazard appearance. It's important to maintain uniformity for a polished outcome.
Once the desired shape is achieved, gently pull apart the yarn strands at their ends to add volume and texture, which will give the dream catcher a fuller, more finished look.
Dyeing the Dream Catcher
After shaping the fringe, immerse the yarn in liquid watercolor to add a spectrum of hues to your dream catcher, ensuring to evenly saturate for vibrant results. The process of dyeing can profoundly impact the overall aesthetic, infusing your creation with personality and depth.
For a harmonious appearance, consider the color theory and select dyes that complement or contrast with each other effectively. The dyeing process not only enhances the visual appeal but also allows for a customized expression of creativity.
- Ensure that the dye bath is thoroughly mixed to prevent any uneven coloring.
- Gently wring out excess dye to maintain the yarn's texture and expedite drying.
- Experiment with dip-dyeing techniques for an ombre effect or multiple colors on a single strand.
Embellishing Your Creation
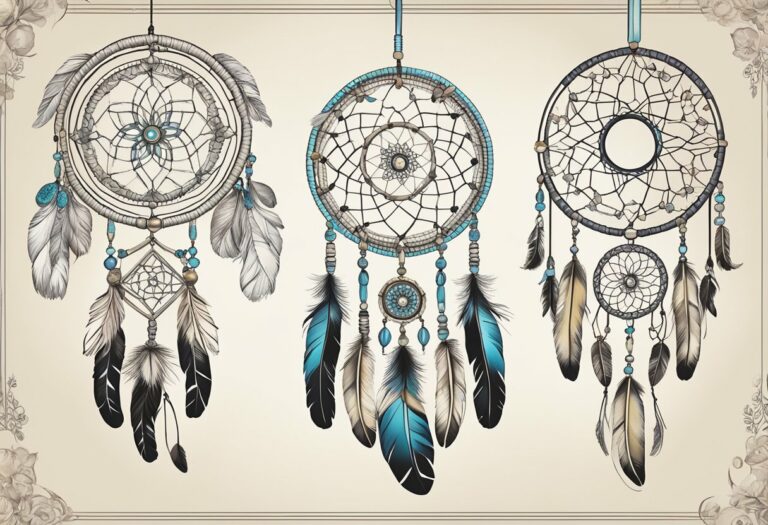
Embellishing your dream catcher with assorted beads and feathers can transform it into a personalized work of art. The addition of wood beads introduces a natural element, complementing the intricate webbing of the yarn. For a dynamic visual effect, consider incorporating beads of various sizes and colors that harmonize with your dream catcher's palette.
Feathers add a traditional touch, infusing your creation with a sense of motion and softness. Attach them using cording for a secure fit. Experiment with different lengths and hues to achieve your desired aesthetic.
Displaying Your Dream Catcher
Upon completion of your dream catcher, selecting an optimal location for display is crucial to enhance its visual appeal and maintain its symbolic significance. The dream catcher serves as more than just a decorative piece; it embodies a spiritual tool in many cultures, traditionally used to protect individuals from bad dreams and negative thoughts.
To honor its purpose and showcase its intricate design, consider the following when choosing a display spot:
- Natural Light Source: Position near a window to allow sunlight to accentuate the colors and casting shadows.
- Room Focal Point: Hang above a bed or in the living area where it can be a conversation starter.
- Avoid Cluttered Spaces: Choose a minimalist setting to prevent visual competition and ensure the dream catcher stands out.
Conclusion
In conclusion, the creation of a dream catcher serves as a testament to the fusion of traditional symbolism and individual creativity.
This craft not only provides an aesthetic addition to any space but also embodies the maker's personal touch and intention.
The careful selection of materials, meticulous assembly, and thoughtful embellishment culminate in a unique artifact that captures the essence of both artistry and cultural significance, offering a tangible representation of protection and positive energy.