10 Steps to Make Beautiful Glass Suncatchers at Home
Get ready to add a pop of color and charm to your home with beautiful handmade suncatchers!
Discover the magic of creating your own dazzling glass pieces that will sparkle in the sunlight and liven up any space.
From choosing the perfect glass to putting on the final touches, each step is a journey towards crafting a mesmerizing masterpiece.
Join us as we unravel the secrets behind making these eye-catching creations that will effortlessly enhance your surroundings.
Are you ready to brighten up your home with your own unique suncatcher?
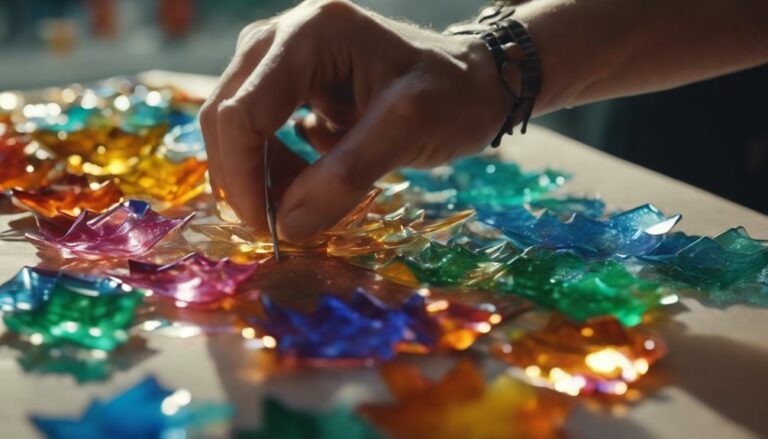
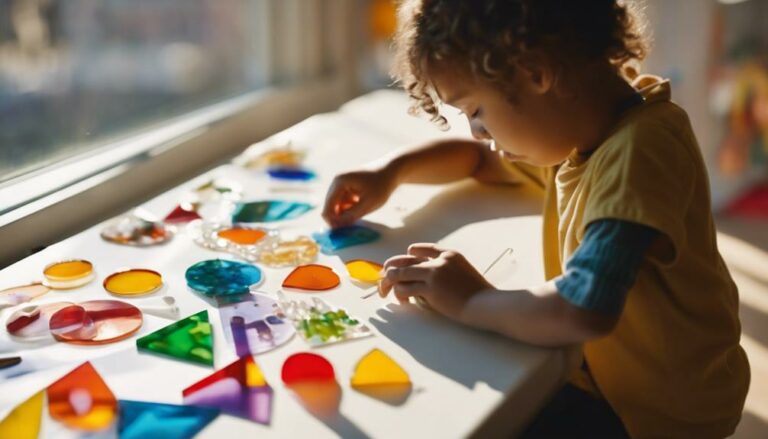
Gather Necessary Supplies
Hey there! Ready to make some beautiful glass suncatchers? First, gather your supplies:
- glass beads
- clear glue
- a plastic lid
- a needle
- fishing line
- suction cup hooks
You can find glass beads at places like dollar stores, Amazon, or craft stores. The clear glue is important for sticking the beads onto the lid securely. The plastic lid will be the base for your suncatcher, and lids from things like sour cream containers work great.
Once you have everything you need, you're all set to start creating your own unique glass suncatchers that will catch the light and look amazing in your home!
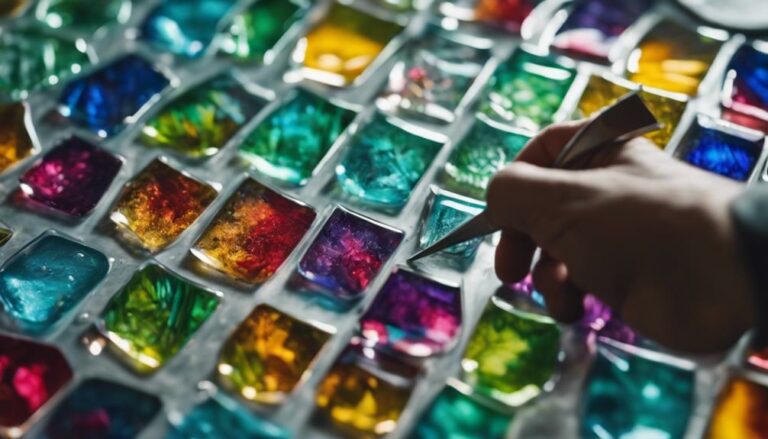
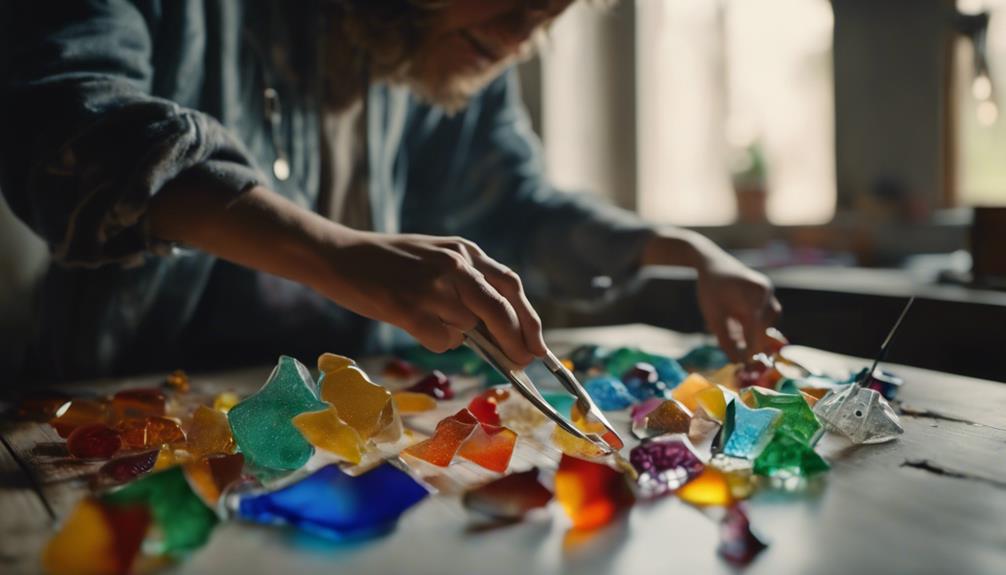
Choose Your Glass Pieces
Hey there! When choosing your glass pieces for your suncatcher, think about picking colorful pieces with different textures to make it eye-catching.
Mix and match various shapes and sizes to give your suncatcher a dynamic look. Using translucent or transparent glass can create a beautiful light effect when the sun shines through it. Make sure the glass pieces are smooth and free from any flaws to make your creation look polished.
You can add depth and dimension by incorporating beads, gems, or stained glass into your design. By carefully selecting your glass pieces, you can make a stunning and one-of-a-kind suncatcher that will brighten up any room!
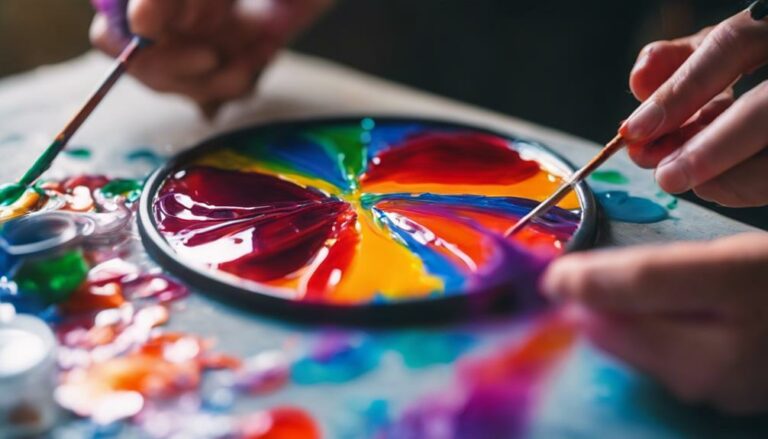
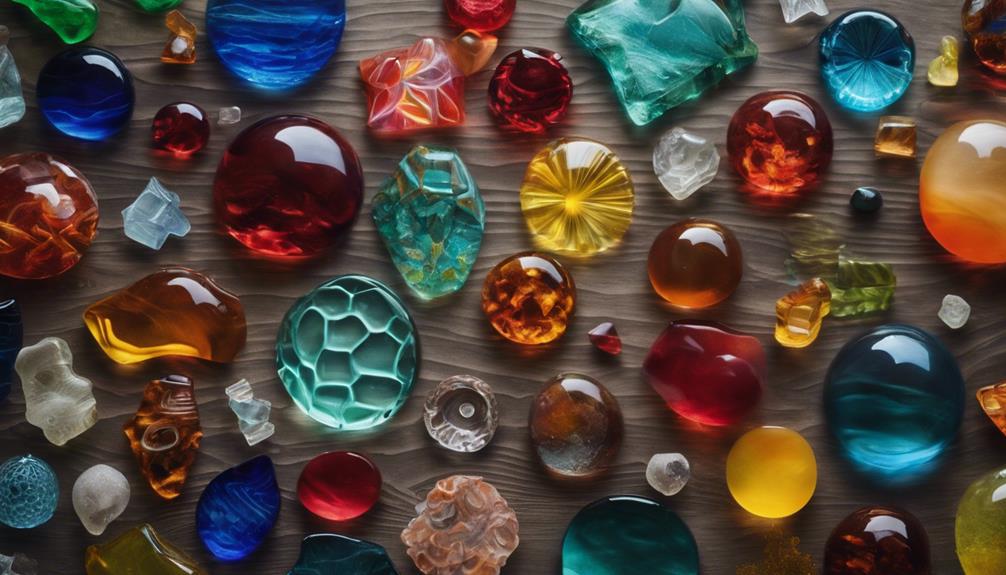
Select Vibrant Colors

Hey there! When you're picking out colors for your glass suncatcher, think about choosing bright and bold ones like red, blue, yellow, and green. These colors really pop and catch the sunlight beautifully. To make your suncatcher even more eye-catching, go for colors that are see-through so the light can shine through them and create a lovely glow.
Here are some tips for choosing the perfect colors:
- Mix different shades of the same color to add depth.
- Try combining colors that are opposite each other on the color wheel for a cool effect.
- Pick colors that stand out next to each other for a vibrant and interesting suncatcher design.
Have fun playing around with different color combos to make your suncatcher really stand out!
Cut Glass Shapes
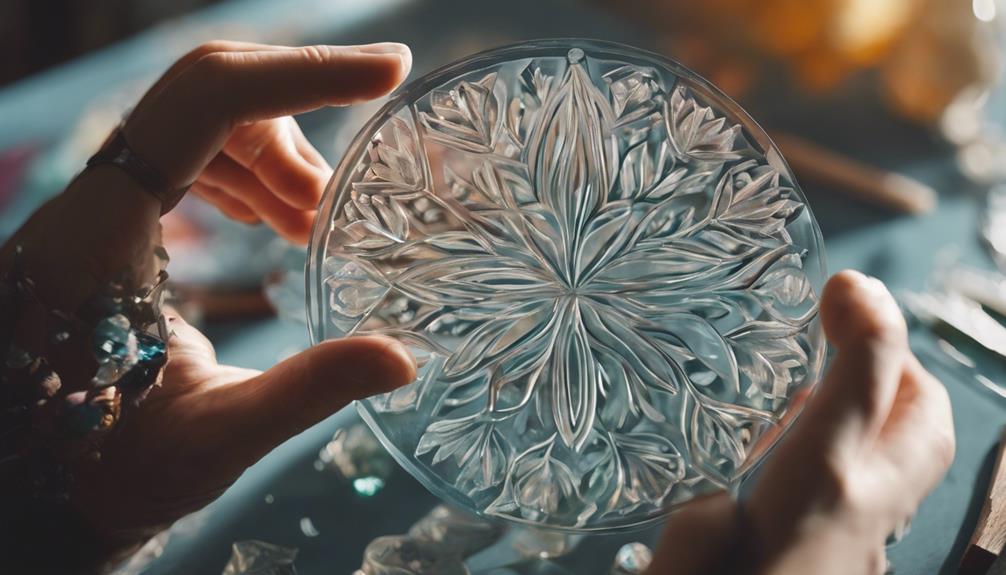
Hey there! When cutting the glass shapes for your suncatcher, think about the awesome colors you've picked and how they'll sparkle once cut. Use a sharp glass cutter carefully to create detailed designs.
Pay attention to the grain or pattern in the glass as it'll affect how your stained glass window turns out. Follow patterns to help you cut accurately and periodically check the shape against your pattern pieces.
Plan out your glass layout smartly to save materials and make your design pop. These steps will guide you in crafting stunning glass shapes for your suncatcher.
Happy crafting!
Grind Edges Smoothly

Hey there! So, when you're making a cool glass suncatcher, it's super important to grind the edges smoothly for a safe and polished finish. Here's how you can do it like a pro:
- Get a good grinder tool for precise grinding.
- Hold the glass securely against the grinder to avoid any accidents.
- Rotate the glass evenly while grinding to make it nice and smooth.
- Keep checking the edges to see how it's coming along and make any needed adjustments.
Grinding the glass not only makes your suncatcher look awesome but also makes it more durable. So, give it a try and see the magic happen!
Wrap in Copper Foil
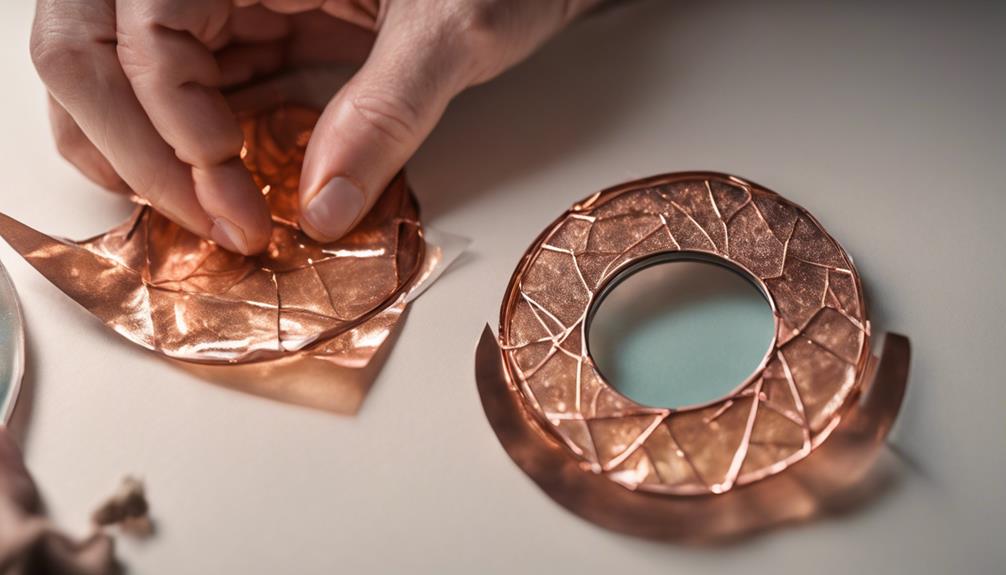
Hey there! When making stained glass suncatchers, wrapping the glass pieces in copper foil is super important for a polished look.
To do this, use hot glue to carefully attach the copper foil around the edges of each glass piece. This wrapping gives a neat and secure base for the soldering process and makes your suncatcher look fantastic.
Make sure the copper foil is smooth and wrinkle-free to help the solder stick well later on. By consistently wrapping all the glass pieces with copper foil, you're getting ready for successful soldering and ensuring your stained glass creation lasts a long time.
It's a crucial step that adds a professional touch to your beautiful suncatcher!
Solder Pieces Together
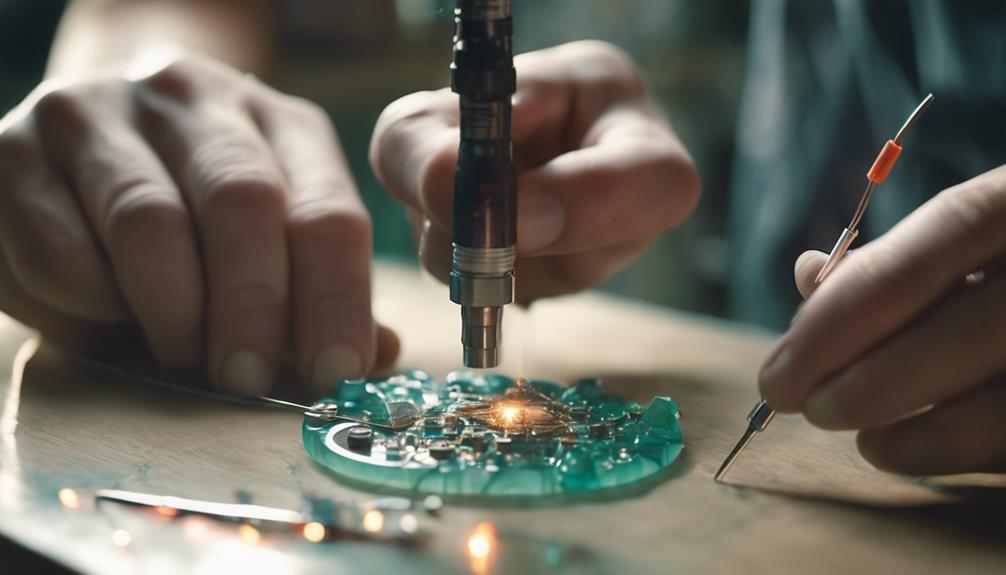
To create beautiful glass suncatchers, you must master the art of soldering. Join glass pieces together by carefully applying solder to ensure strong connections.
This technique requires precision and skill to achieve clean and secure bonds between the glass elements.
Joining Glass Pieces
Hey there! When you're putting glass pieces together, it's important to use flux on the copper foil edges before soldering. Here are some tips to make the process easier:
- Apply flux: This helps the solder stick to the copper foil.
- Use the right soldering iron: Make sure you have a soldering iron meant for working with glass.
- Secure glass pieces: Keep everything in place with push pins while you solder.
- Create loops: Make loops with copper wire and solder them on for hanging your suncatcher.
Applying Solder Carefully
When making stained glass projects, carefully applying solder to the copper foil-wrapped edges of the glass pieces is key for a strong bond. Soldering is like using a special metal called solder and a soldering iron to join materials together.
Before soldering, wrapping copper foil around the glass edges provides a good surface. Applying flux to the copper foil helps the solder stick to the glass, making sure it stays put. It's important to be cautious with the heat and keep a steady hand to avoid overheating and damaging the fragile glass.
Ensuring Strong Connections
Hey there! Want to make sure your stained glass suncatcher stays strong and beautiful? Here's how to connect those glass pieces like a pro:
- Get Sticky with Flux: Before soldering, put some flux on the copper foil edges. This helps the solder stick better.
- Pin It Down: Use push pins to keep the glass pieces in place while you solder. No wobbling allowed!
- Solder with Care: Take your time and solder carefully. This will make sure the bond between the glass pieces is solid and lasts a long time.
- Keep it Together: Follow these steps to make sure your suncatcher stays sturdy and looks amazing for years to come. Happy crafting!
Attach Hanging Wire

To securely hang your glass suncatcher, you need to attach a strong wire like steel wire. Make sure to solder the wire loops in place for added stability.
Test the wire positioning before permanently securing it to achieve the desired look.
Wire Attachment Methods
Hey there!
So, if you want to hang your cool glass suncatcher securely, here's what you can do.
First, shape some copper wire into loops to hang your suncatcher. Then, add tin to those loops for extra strength.
Next, use solder to attach the loops to your suncatcher. Make sure to test the steel wire to see if it hangs just right before making it permanent.
This way, your suncatcher will stay put and look awesome wherever you decide to display it!
Hanging Wire Positioning
Hey there! When hanging your glass suncatcher, it's important to position the wire just right for balance and stability. Think about how the suncatcher is designed and where its weight is distributed. Make sure to attach the wire securely to prevent any accidents.
You can use pliers to twist and secure the wire in place properly. The wire should allow the suncatcher to hang freely and evenly. Once it's all set up, check to see if the suncatcher hangs correctly without any wobbling.
Getting the hanging wire in the right position is key to making sure your glass suncatcher looks great and stays safe!
Apply Patina for Finish
Alright, so you've finished soldering and cleaning your stained glass suncatcher. Now, it's time to give it that professional touch by applying patina. Here's how you can do it like a pro:
- Get Ready: Make sure you're working in a well-ventilated area and protect your workspace.
- Apply the Patina: Use a brush to carefully put the patina solution on the solder lines.
- Let it Sit: Allow the patina to sit for a few minutes until it gets the color you want.
- Neutralize: Rinse the suncatcher with water to neutralize the patina, then dry it completely.
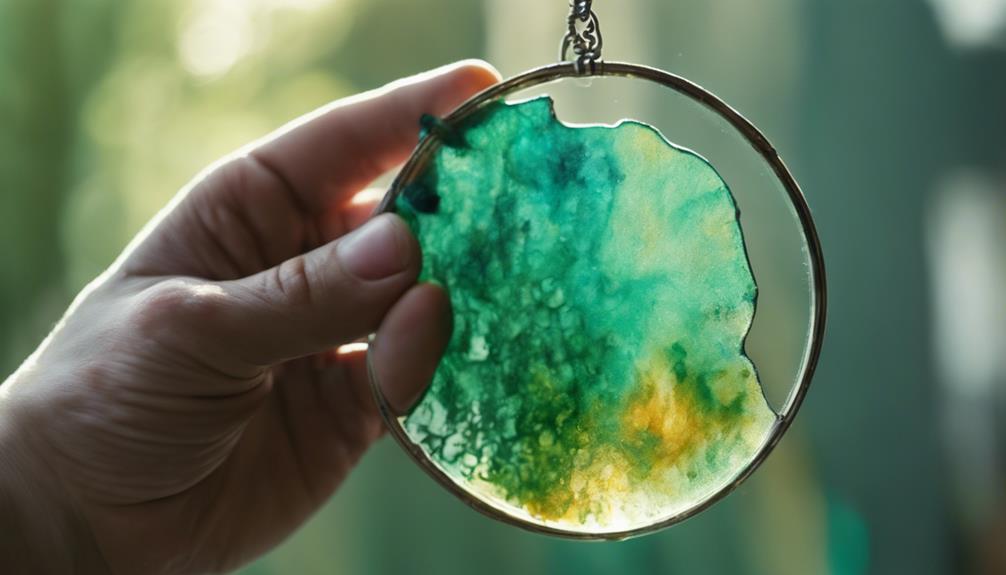
Display and Enjoy
Hey there! Want to make your glass suncatcher even more stunning? Consider adding a cool hanging wire for display and securely attaching some feathers for an extra touch. This will make sure your suncatcher is ready to catch all the beautiful sunlight!
When you hang it indoors in a sunny window, the translucent glass will glow gorgeously. For a dreamy vibe, try putting it in your bedroom window. Creating your suncatcher is a fun process, so don't forget to show off your masterpiece to others.
Watch as the colors dance and shimmer when the sun shines through, bringing joy and beauty to any room it brightens up! Enjoy the magic of your unique piece of art!
Frequently Asked Questions
How Do You Make Easy Suncatchers?
You make easy suncatchers by applying stained glass paint to clear acrylic discs, letting them dry, cutting fishing wire, attaching them with knots and hot glue, tying them to an embroidery hoop, decorating with gemstones, and hanging them for vibrant window colors.
How Are Stained Glass Suncatchers Made?
To make stained glass suncatchers, you cut glass into shapes, foil the edges, solder the pieces, and add hanging loops. Let the light dance through the vibrant colors of your creation as it hangs in the sunlit window.
What Material Is Used for Suncatchers?
You can use glass beads, flat marbles, gems, sea glass, or clear/translucent beads to make suncatchers. Flexible plastic lids from items like yogurt containers can serve as bases. Add colors and beads to personalize them!
What Kind of Paint Do You Use for Suncatchers?
You should use stained glass paint for suncatchers. These paints are formulated for glass surfaces, ensuring durability and transparency. Liquid leading paint outlines designs before filling them with colors. Blend different colors for unique shading effects.
Conclusion
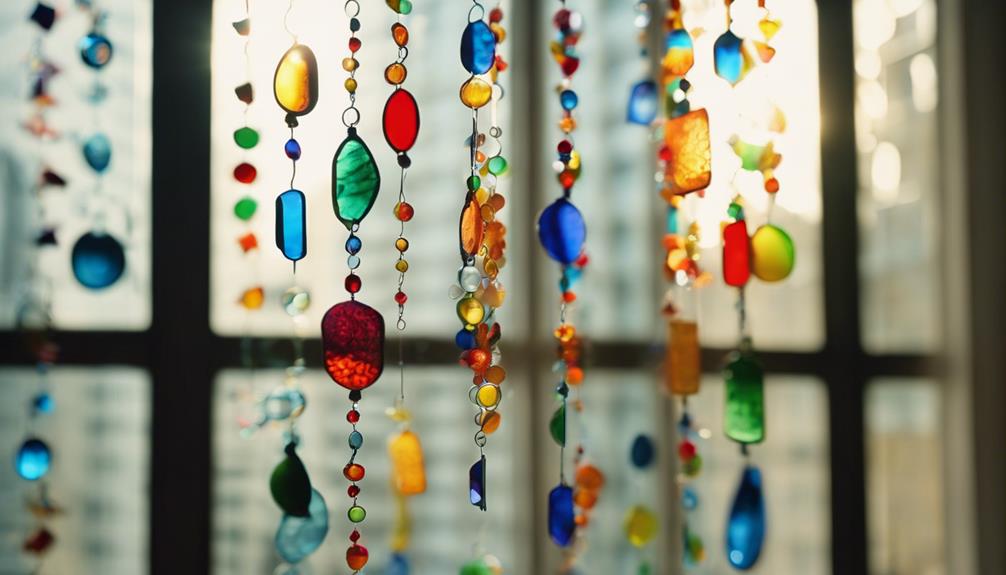
After following these simple steps to create stunning glass suncatchers at home, brighten up your living space by hanging them in a sunny window. Let the beautiful colors and intricate designs add a magical touch to any room.
Get creative and craft more suncatchers to personalize your home decor. Share your creations with us or explore new designs to continue your artistic journey.
How will you let the light shine through your handmade suncatchers? Let's create and connect!